
Grandma Kay’s Garden Grown Lemon Bars
Last Sunday was Mother’s Day, and to celebrate, I baked lemon bars!
Christopher’s mother has a lemon tree that was grown from trees on her parent’s property, and it produces plenty of lemons, enough for us to receive lovely care packages while it fruits. And since we live far from our mother’s we made lemon bars out of lemons!
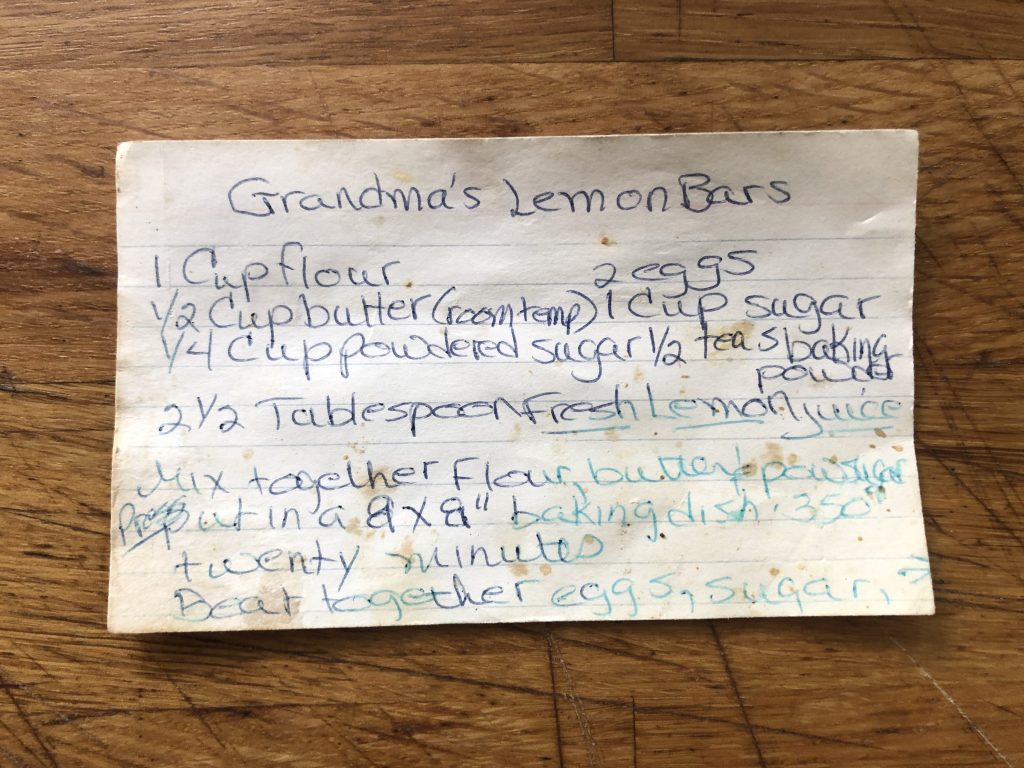
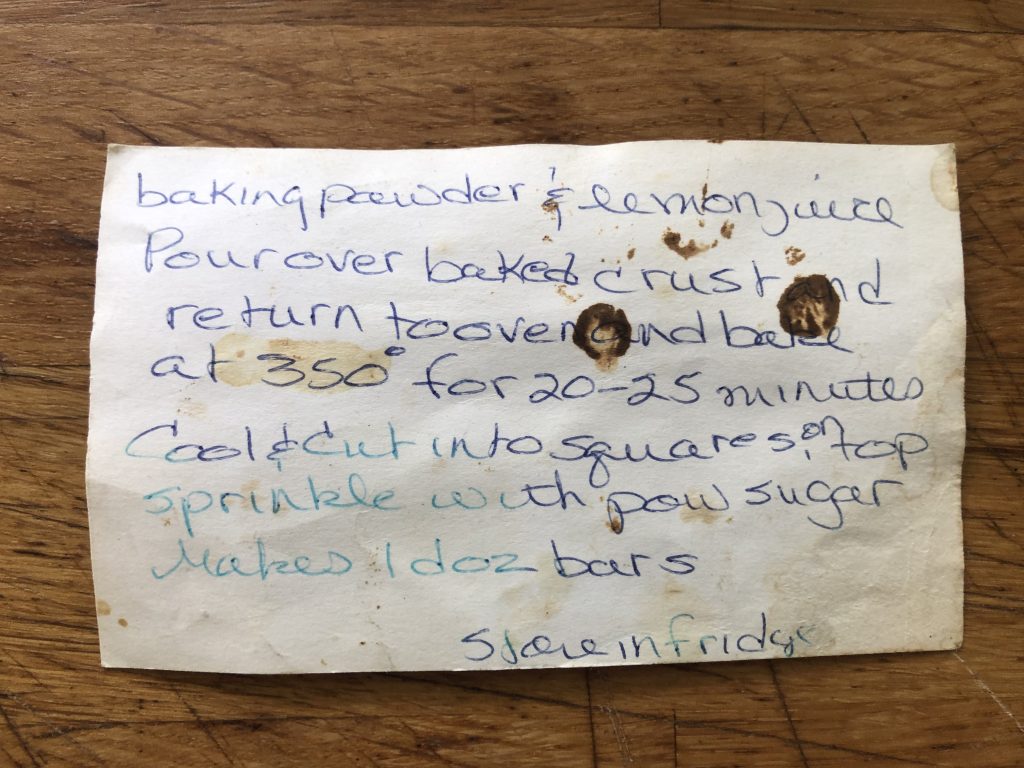
And what better to make with lemons, grown by family, than a family recipe? This recipe was passed from Christopher’s mother’s mother, Grandma Kay, with rave reviews and many family memories. As you can see from the recipe cards, this has been made many times, and endured heavy use.
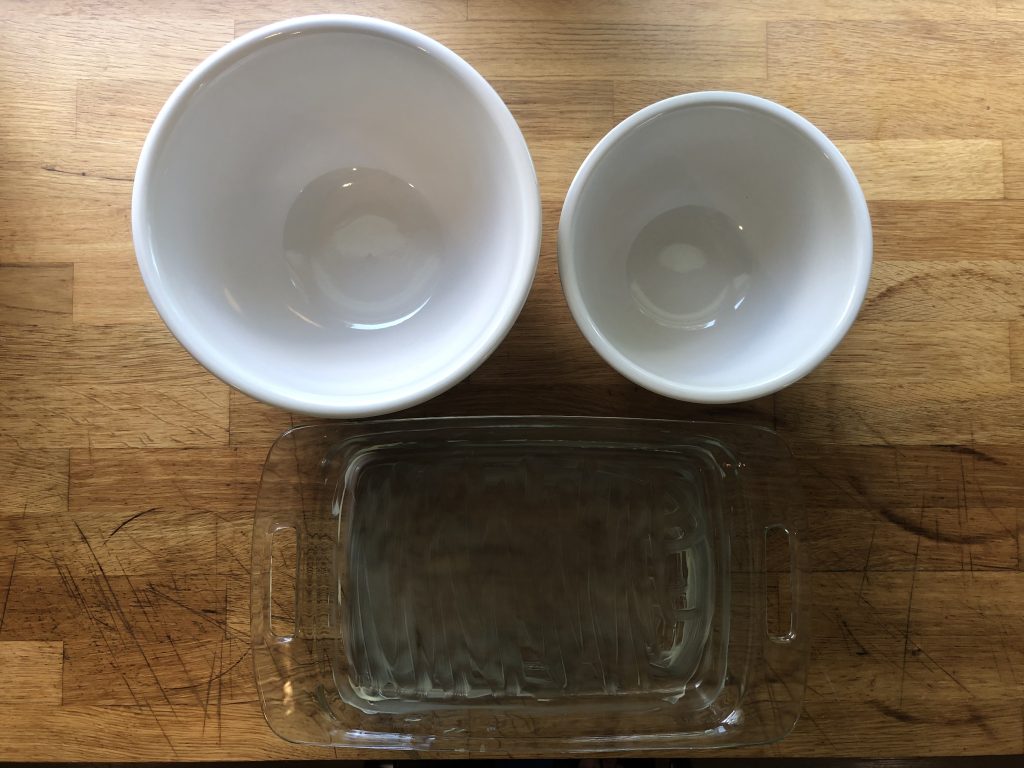
First, I started with getting all the ingredients and tools together. A bowl for mixing the crust, another for mixing the filling, and greasing a baking dish. I have been eliminating cooking oils like canola and any seed oils in general, which would include a previously beloved kitchen tool, Pam cooking spray. So now I do it the old fashioned way, getting my hands on a chunk of better and smearing it right in the pan.
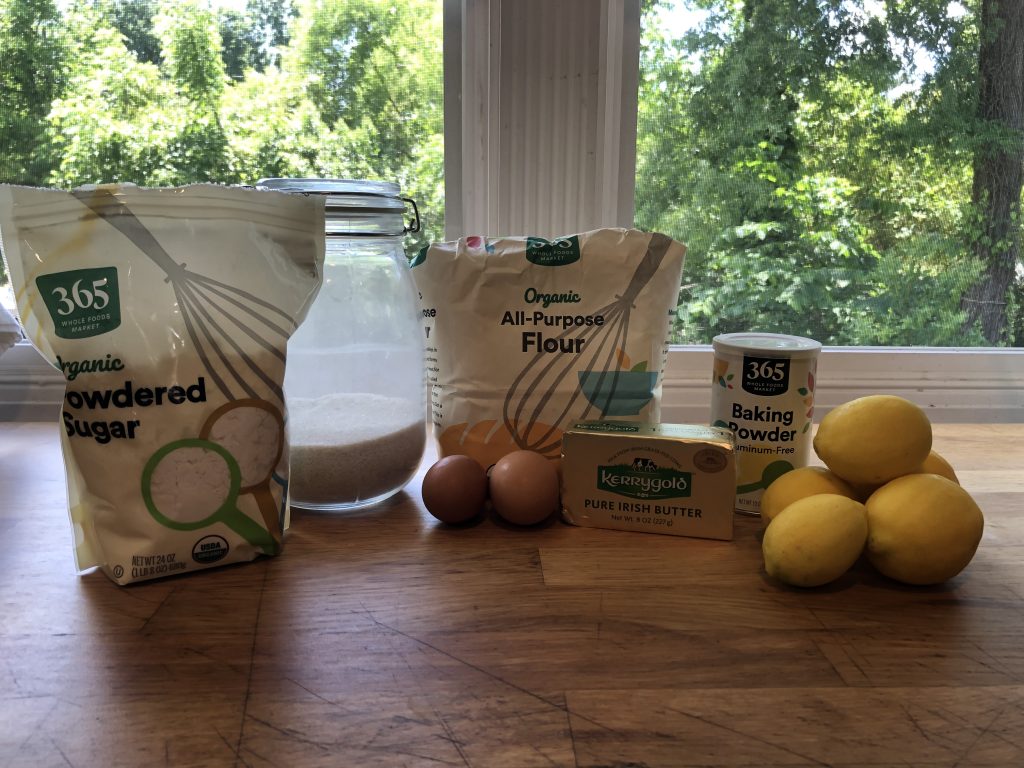
Now that I have everything needed, it is time to get started!
First, turn your oven to 350F, then we will start with making the crust, which is similar to a quick pastry dough recipe. When making a dough that is butter based, I try to use a high quality butter, and to bake this I used Kerrygold salted Irish butter. Personally I always use salted butter, despite most recipes calling for unsalted, and have never noticed a difference. The reason most recipes call for unsalted is to help control the salt level in the dish as a whole, so I would say to use your best judgment based on the recipe you are making, the ingredients, and your taste. You can read more about salted vs unsalted baking here.
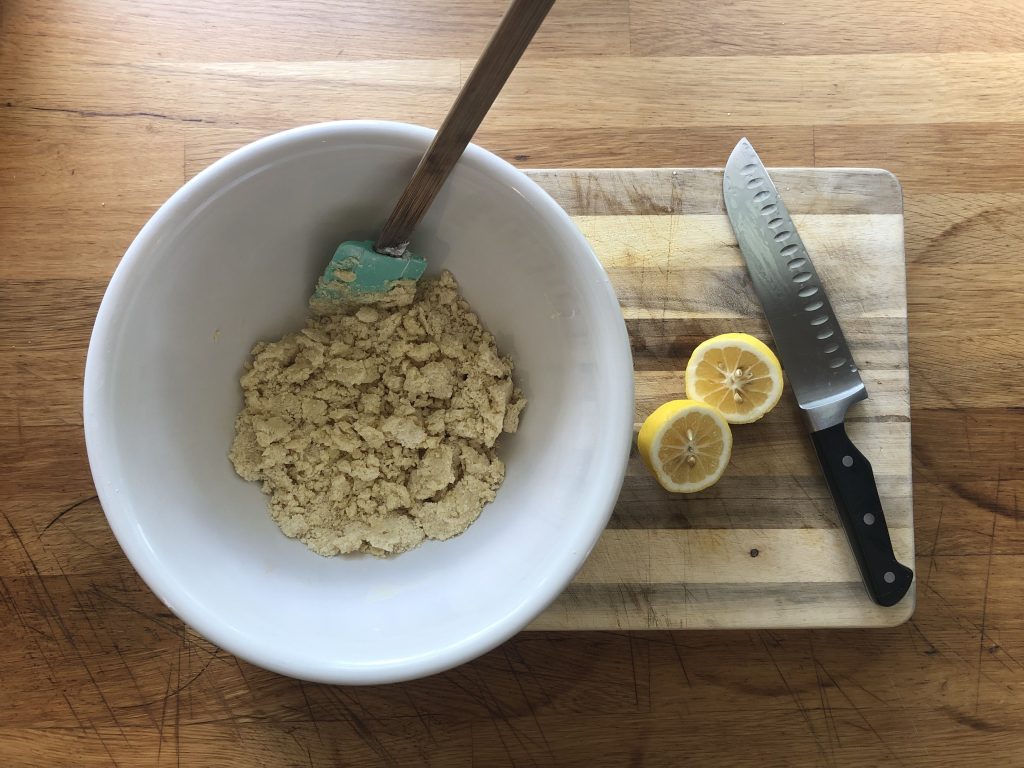
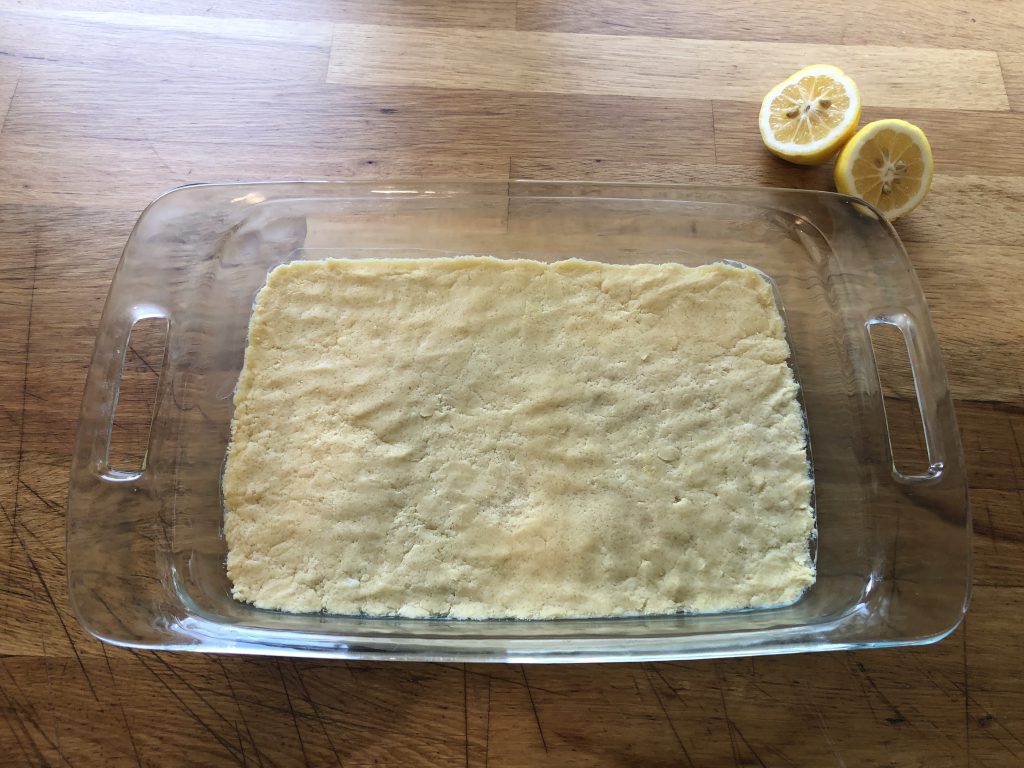
Mix the flour, butter, and powdered sugar to make a shaggy dough which can then be pressed into your greased dish and put in the oven. Let it bake for twenty minutes, or until lightly browned. While the crust is baking, we can move on to the lemon filling.

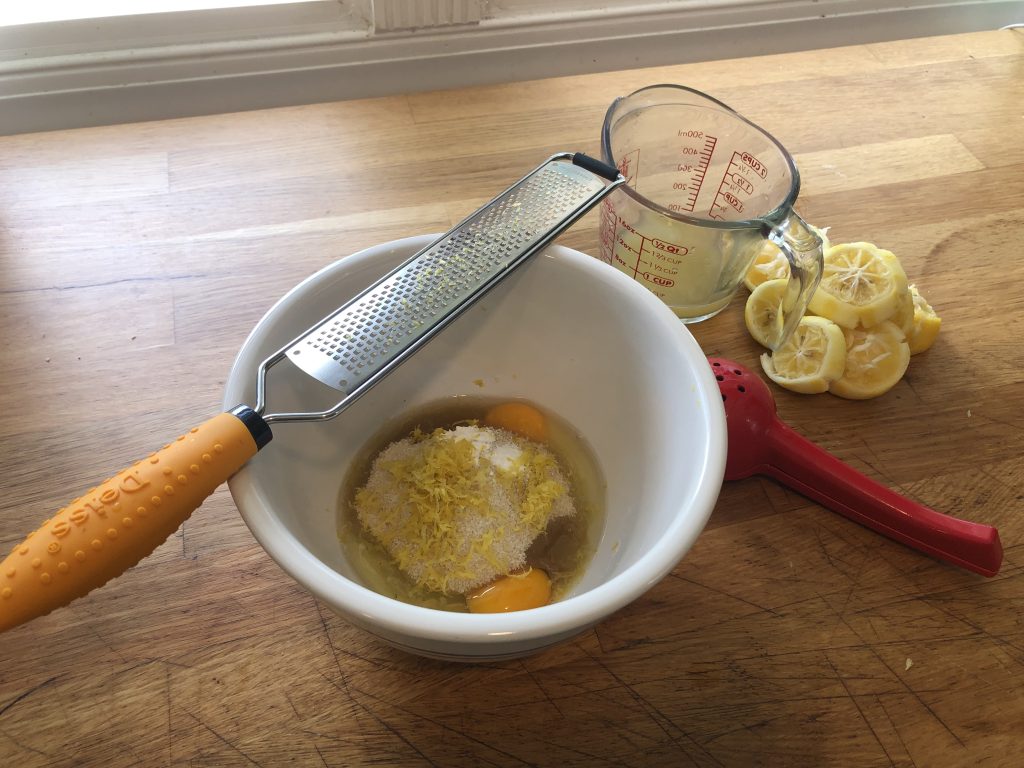
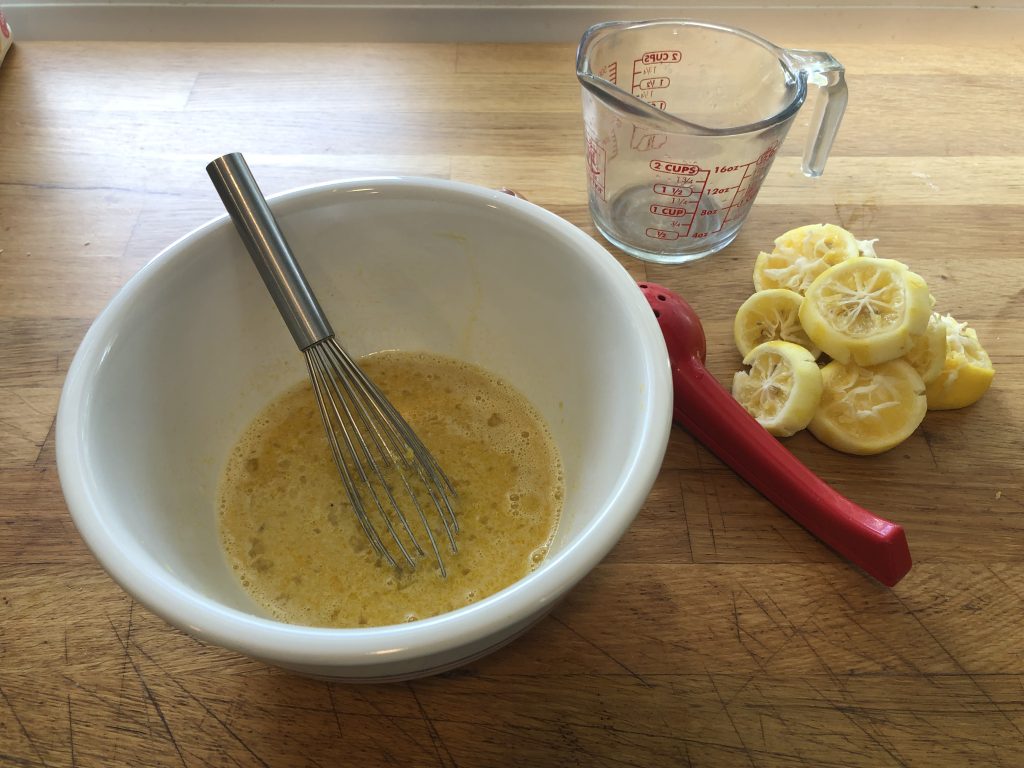
To get the most out of the lemon flavor, we will juice and zest our lemons for our filling. The original recipe does not call for zest, but over the years I have added it to really bring out the tart lemon flavor. I will admit that these next two kitchen tools get a lot of use in my kitchen outside of lemon bars, and they are a citrus squeezer and zester. Whether it be for salad dressings, meat marinades, or homemade mayonnaise, they are constantly in rotation here.
I usually zest the lemons first then juice them because I find it easier to zest while the lemon is more firm. Using the zester, zest until you have about a tablespoon of zest. When juicing lemons it depends on how big and juicy they are for how many you need, but once you have about 2 1/2 tablespoons, that should be sufficient.
Add the lemon juice and zest to the second bowl along with eggs, sugar, and baking powder – mix well.
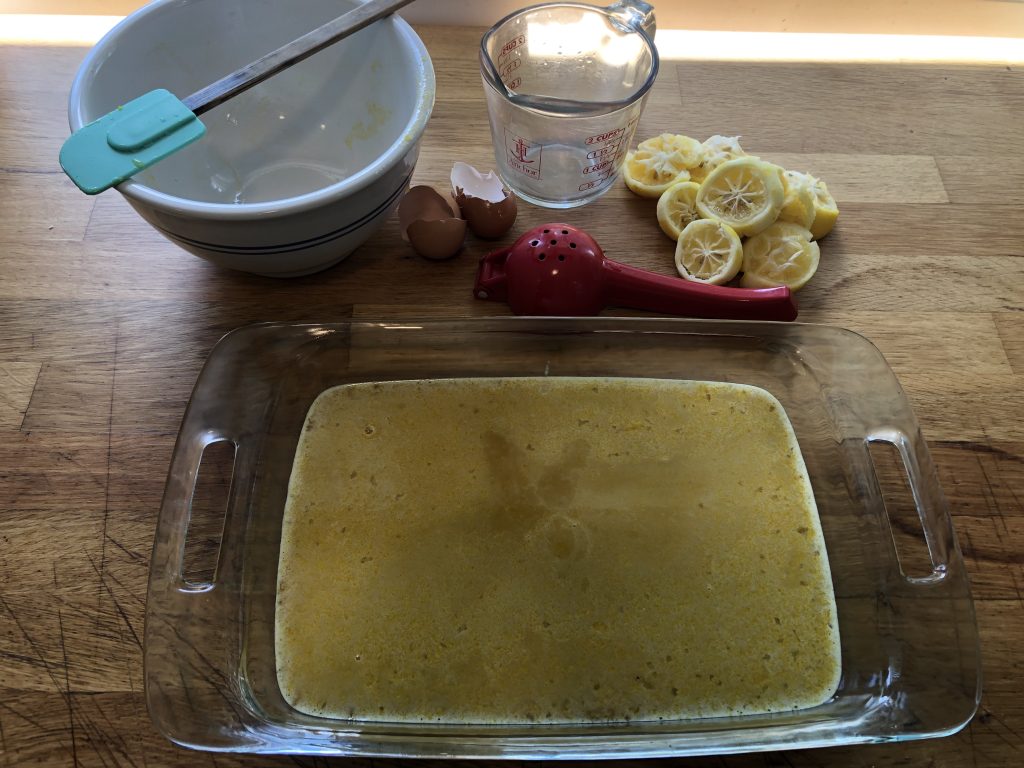
Once the crust has browned, remove from the oven, and pour our lemon filling over it. At this point we are ready for our final bake. Place in oven for 20-25 minutes. It will be done once the filling has firmed up and is mostly set. Remove from oven and let cool for 30-60 minutes. Once cool, use powdered sugar to dust over the lemon bars.
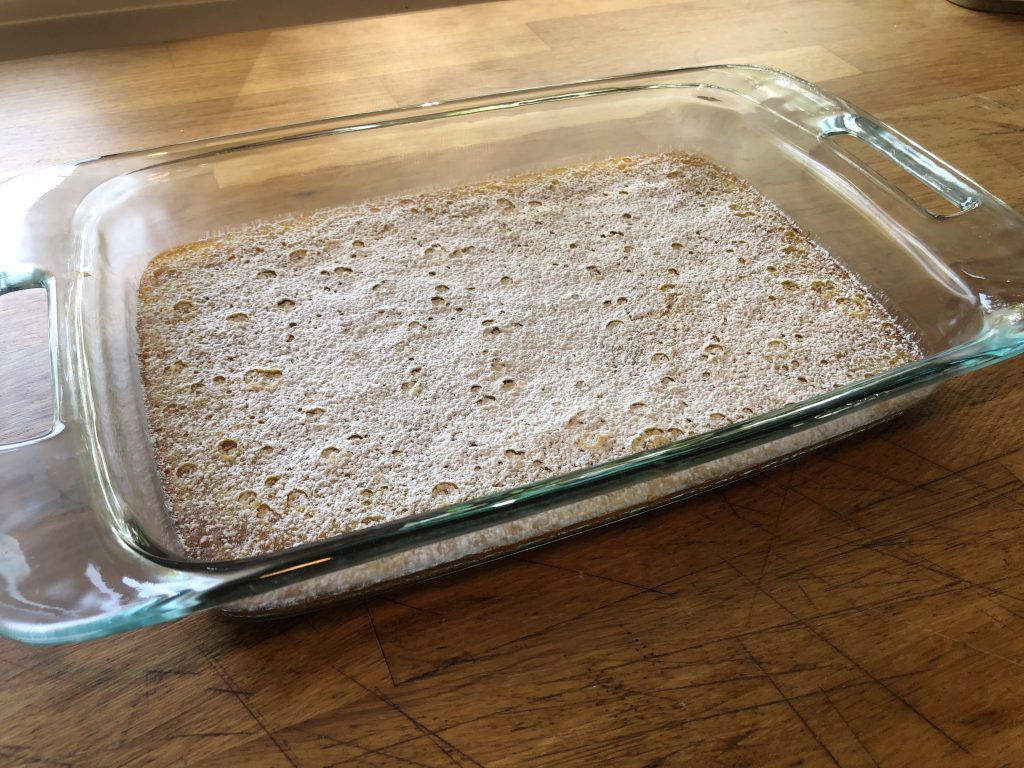
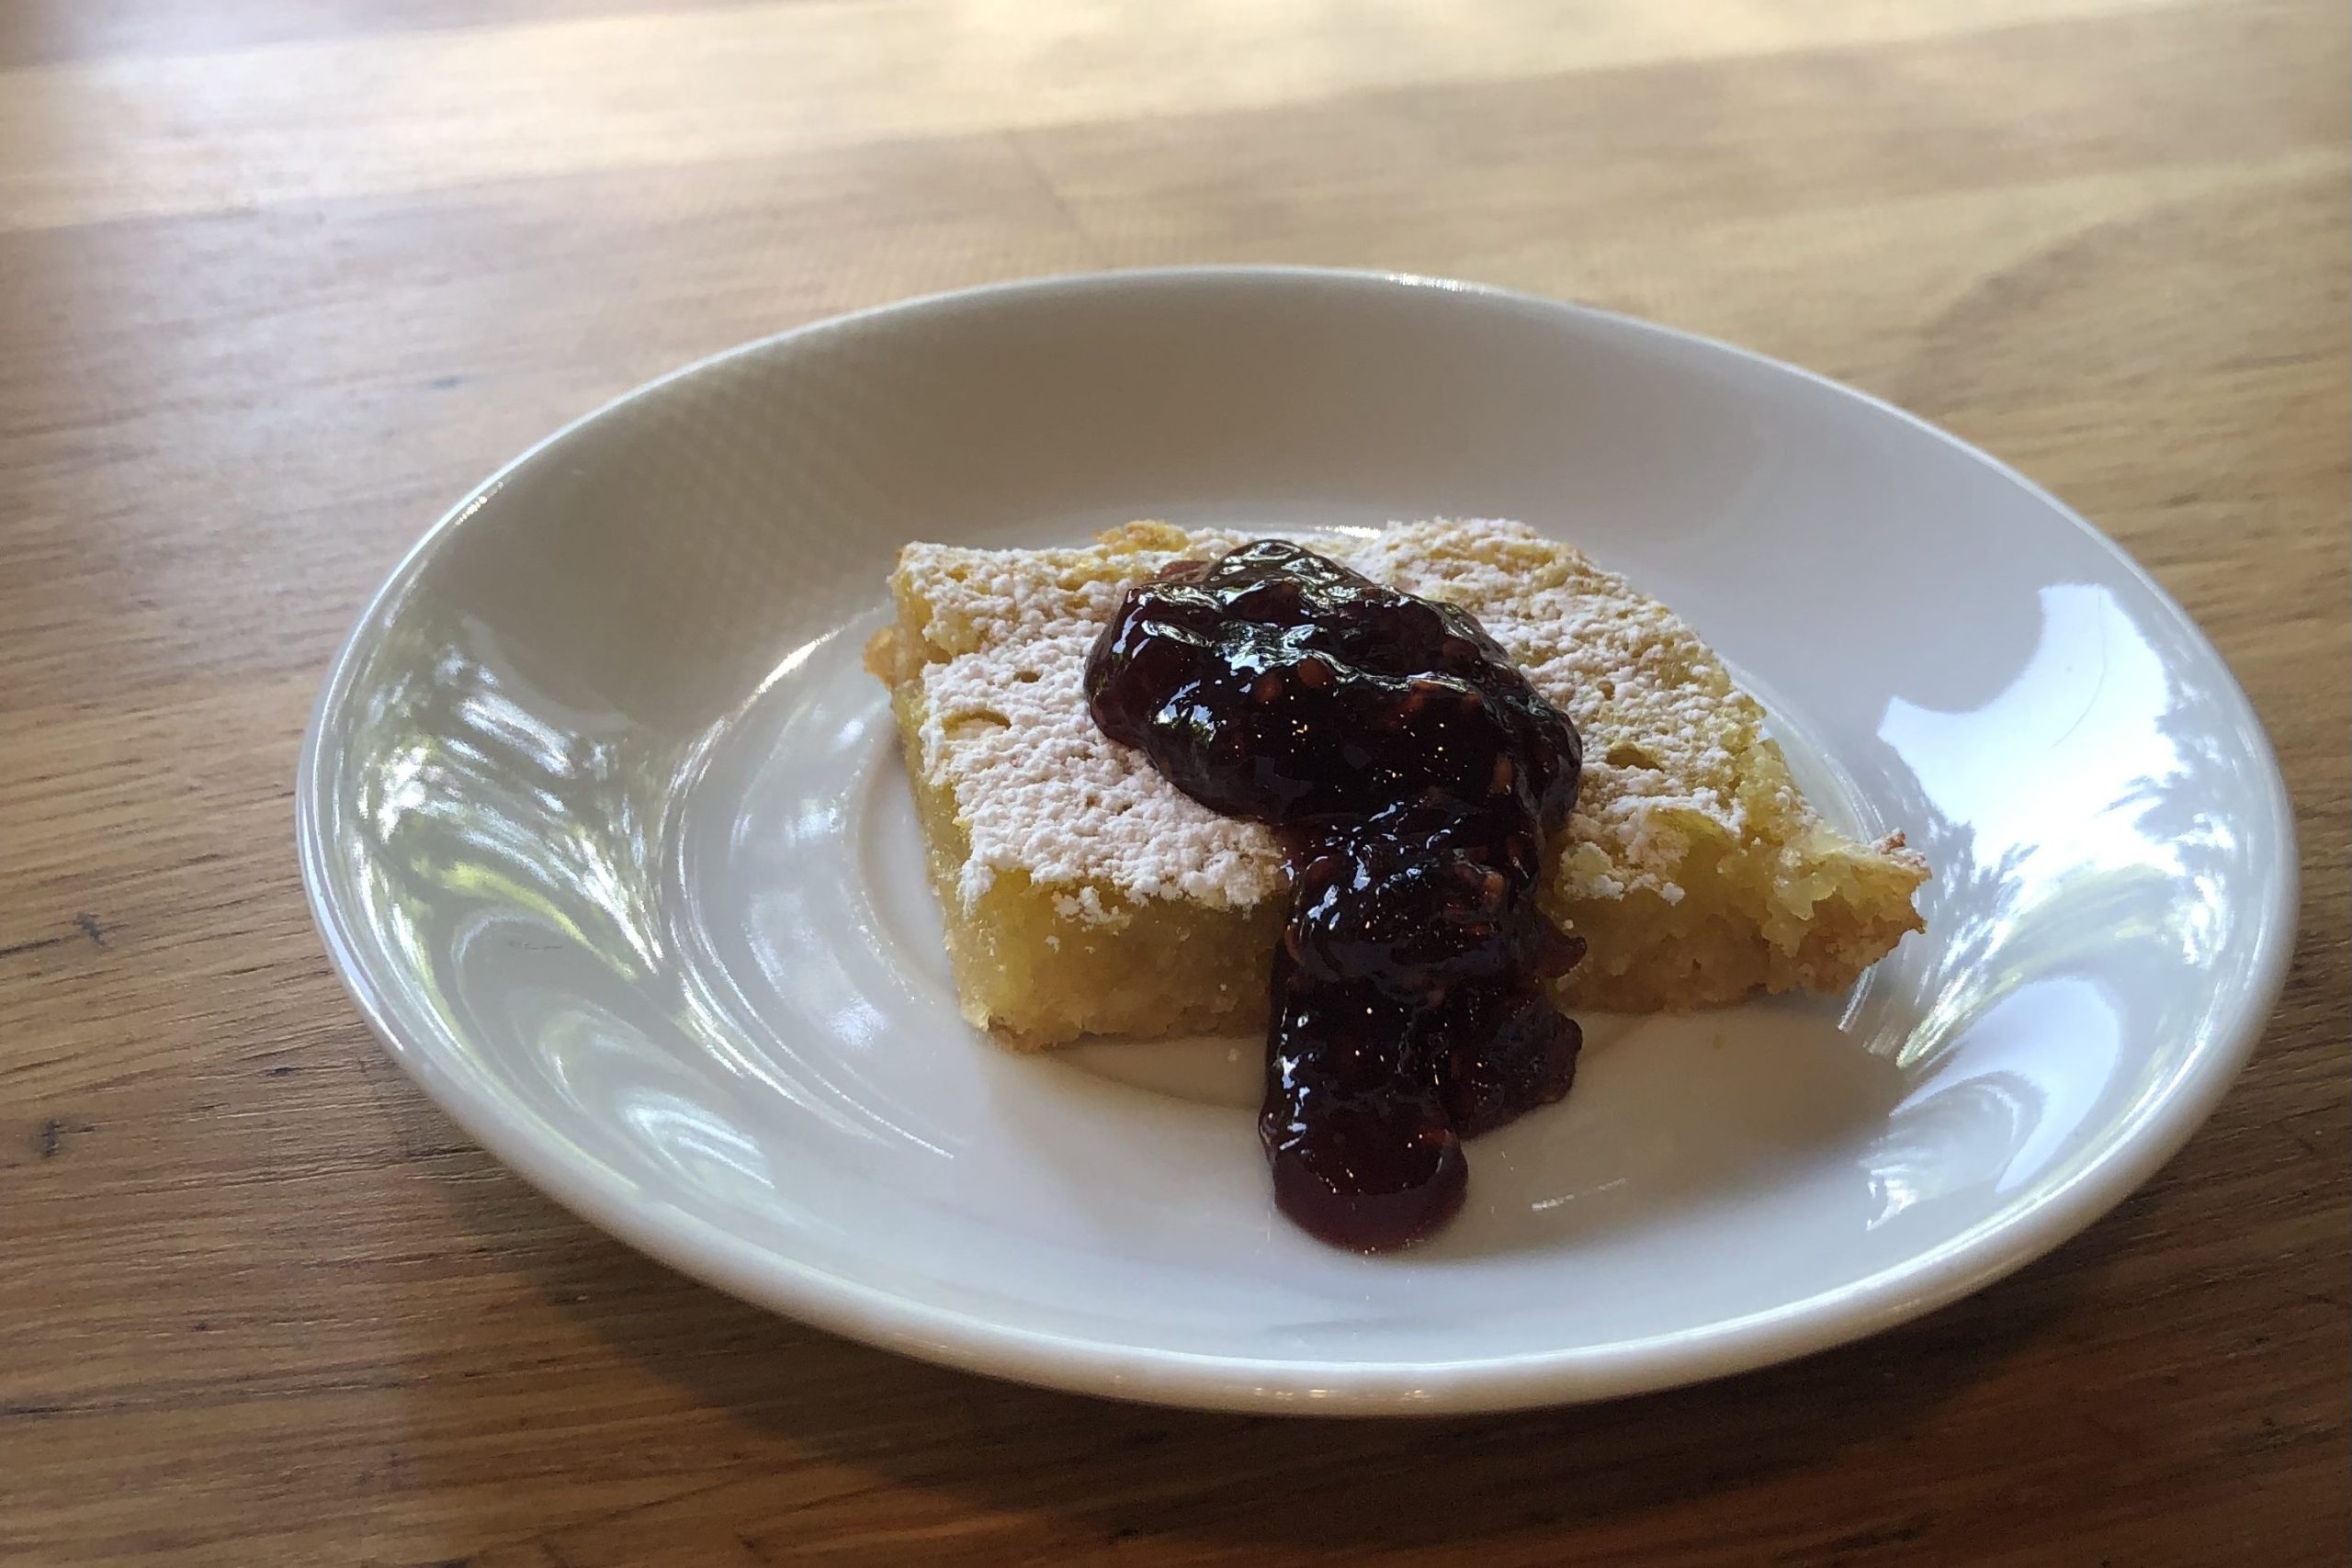
Let cool completely before cutting into slices, but once cooled and cut, serve and enjoy from our family to yours! We topped our squares with raspberry jam, but fresh berries are also a delicious addition when serving!
Grandma Kay’s Garden Grown Lemon Bars
Ingredients
Equipment
Method
- Set the oven to 350℉ and grease baking pan.
- Mix together flour, butter, and powdered sugar in a medium bowl to create a shaggy dough. Press dough into greased dish to cover the bottom of baking dish. Bake crust in oven for 20-25 minutes or until lightly browned and remove.
- Zest and juice lemons.
- Beat together eggs, sugar, baking powder, lemon zest and juice. Pour over baked crust and return to oven and bake for 20-25 minutes.
- Cool and cut squares, sprinkle powdered sugar on top.
Notes
- Once baked, can be stored in fridge up to 7 days
- Can also be baked in a 8 x 8 pan to make them thicker per square
- Top and serve with jam or fresh berries
Leave a Reply